Building Wrenton - Page 7
August 2015
The First Greenery
The builders moved in and put up a wall between the two cottages at the front of the scene. And, overnight, nature took over.
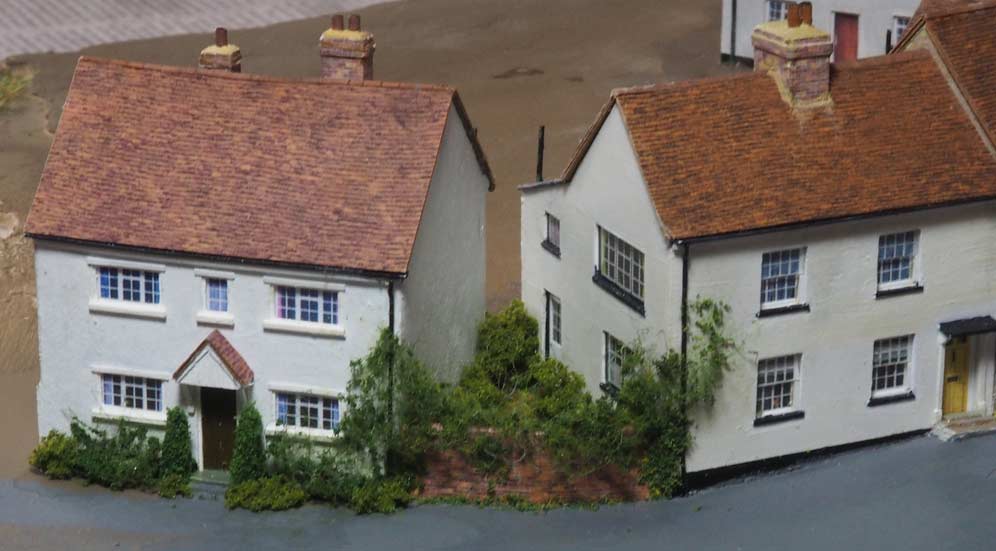

To form the plants growing over the garden wall and onto the cottage walls I used a bit of the material which is, I believe, used for stuffing teddy bears. A small piece was torn off and teased out and then given a spray of green. When dry, a touch of hair spray and then a quick dip in the Blended Turf resulted in a nice open textured look. I think I'll be using that technique a lot!
Late August 2015
Low Relief Trees
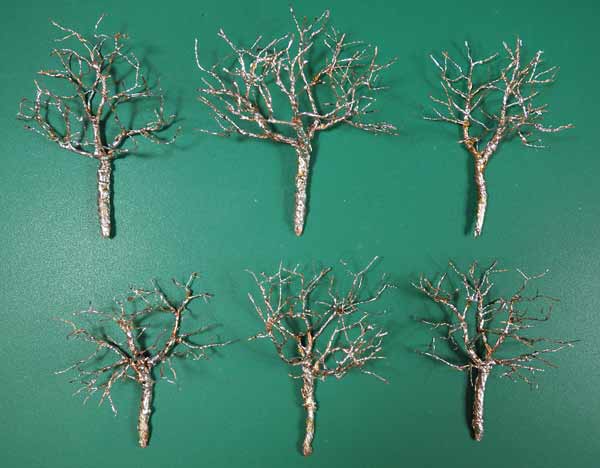
Being close to the buildings, this batch can't be very tall either, a maximum of about 65mm above ground level.
Once the wire twisting job was done and solder applied to the trunk and main branches I soldered the trunks to a piece of printed circuit board. After spray painting the foliage was applied to all the trees together.
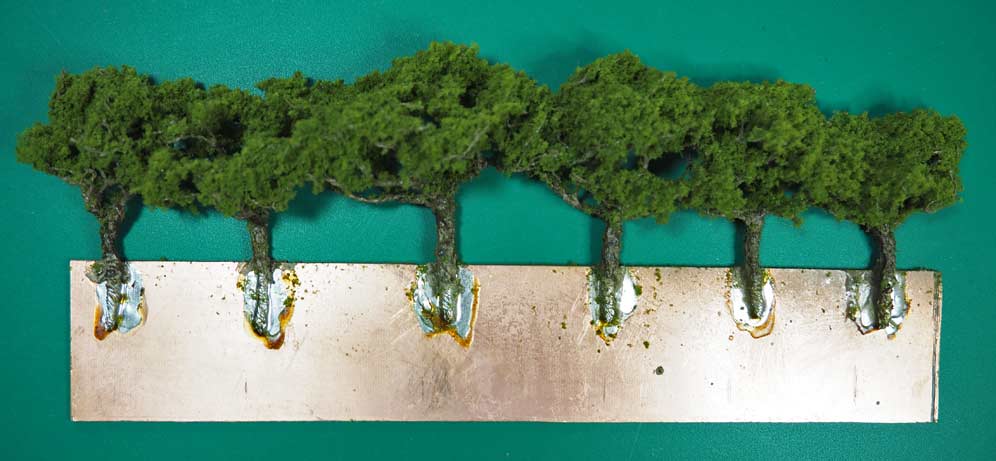
The view from above:

Late August 2015
The First Garden: Nos.7 and 8 Church Hill
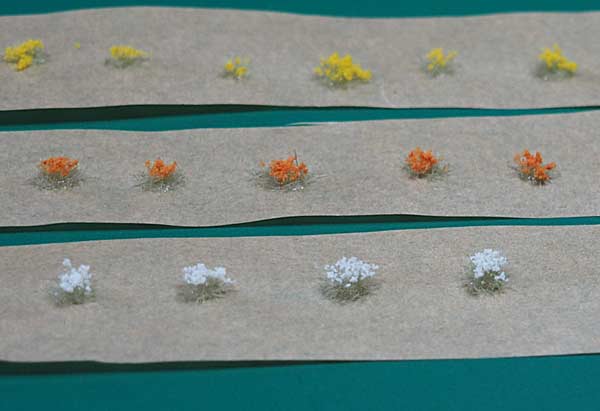
Some flowers were the first requirement. There are several videos on YouTube showing how to make flowering grass clumps, albeit for 4mm scale. Here's one:
External link
Following the suggestions (more or less) I produced some reasonably effective results using Woodland Scenics grass and flowers.
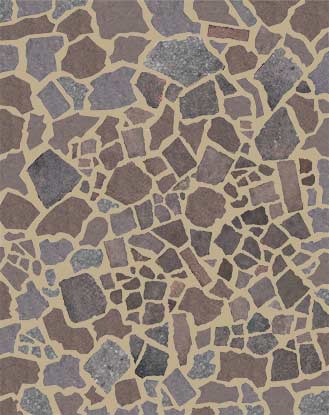
I wanted a path with crazy paving, so I took some photos of the one in my garden. Printing them at the right scale was rather disappointing - there wasn't enough contrast between the slabs and the cement pointing. So I had a lengthy session with Photoshop, producing an area just large enough for this garden.
With the path cut to shape and glued down I used 1mm static grass for the lawn. One of the trees in the row that I've described above will be at the bottom of the garden, so a little mixed scatter on the grass suggests the twigs and other rubbish that seems to land on lawns (or is it just mine?).
The flowers were added and bushes and shrubs were suggested, mostly using Woodland Scenics clump foliage. The small tree against the far fence is a piece of their fine foliage.
When the garden was complete I locked it all down with a spray of WS Scenic Cement.
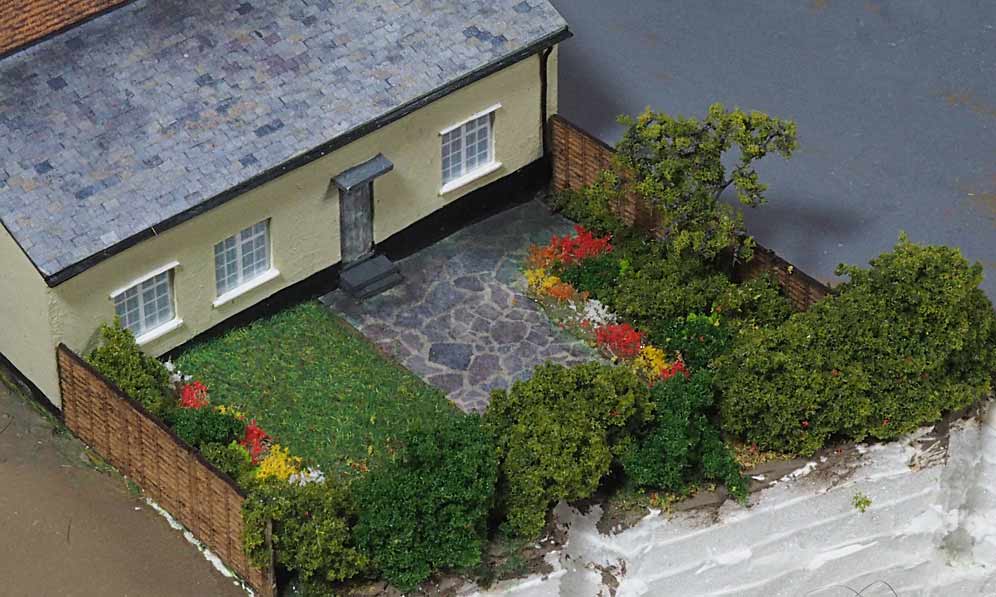
Late August 2015
The Second Garden: No.9 Church Hill
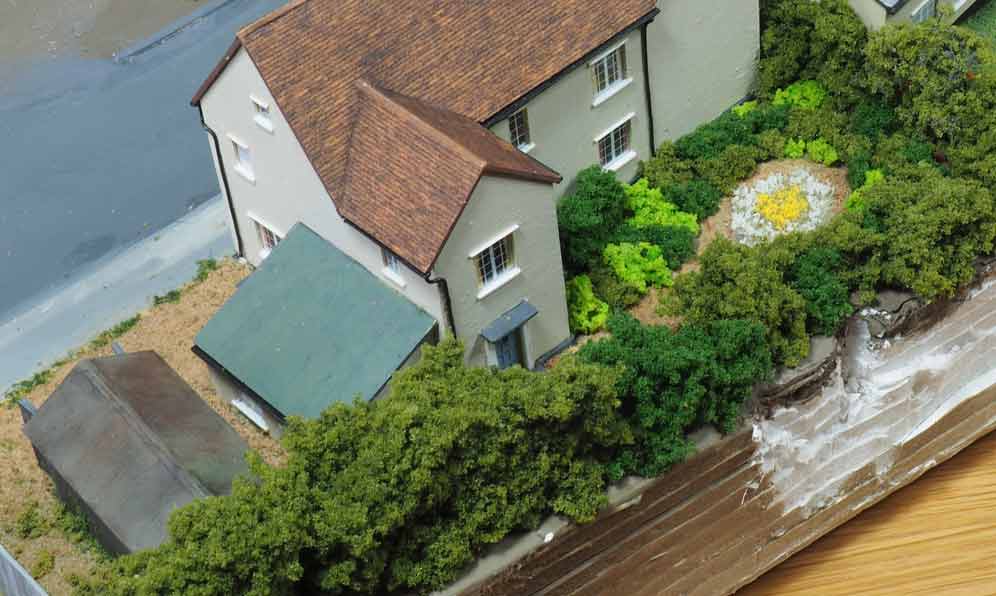
September 2015
The Red Lion Garden
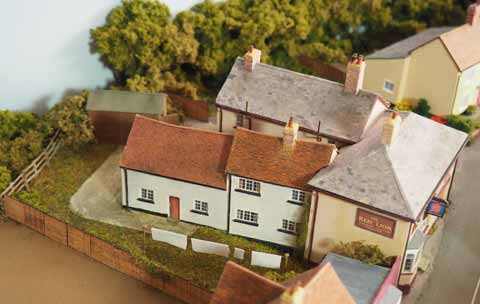
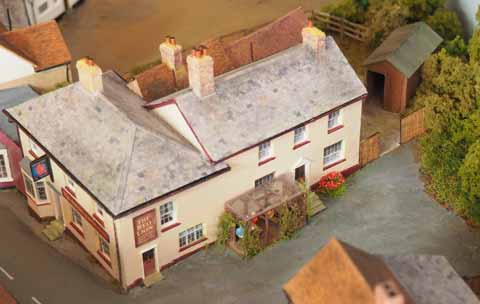
A Wooded Area
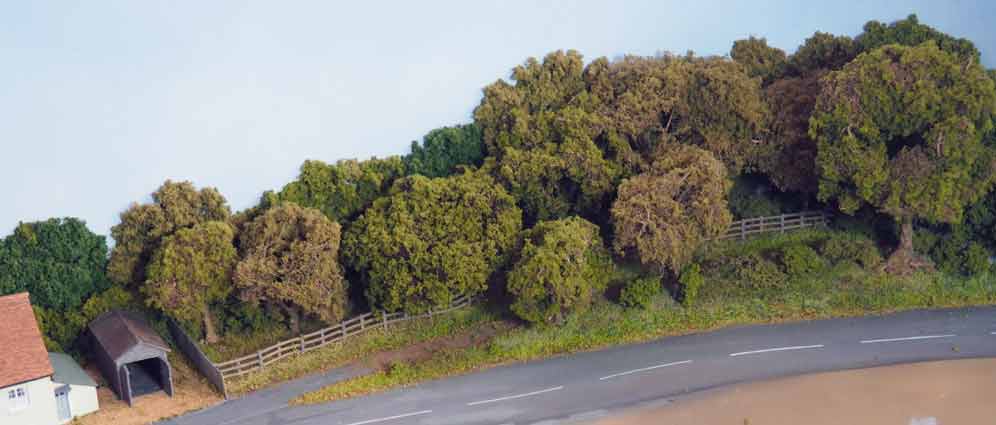
This area is at the top of Church Hill at the extreme right of the layout. A variety of static grasses, some pieces of foliage clumps and bushes made from fibres with scatter applied provide the ground cover and some trees made earlier have at last been planted. The fencing is by Peco. To make the area more dense some very low relief trees were made by glueing foliage clumps directly to the backscene. I found 'No More Nails' to be ideal for this job as it grabs quite quickly. The photo below shows a part of this area on the right and, on the left, the wire based low relief trees described earlier which have also been glued to the backscene.

October 2015
More Gardens
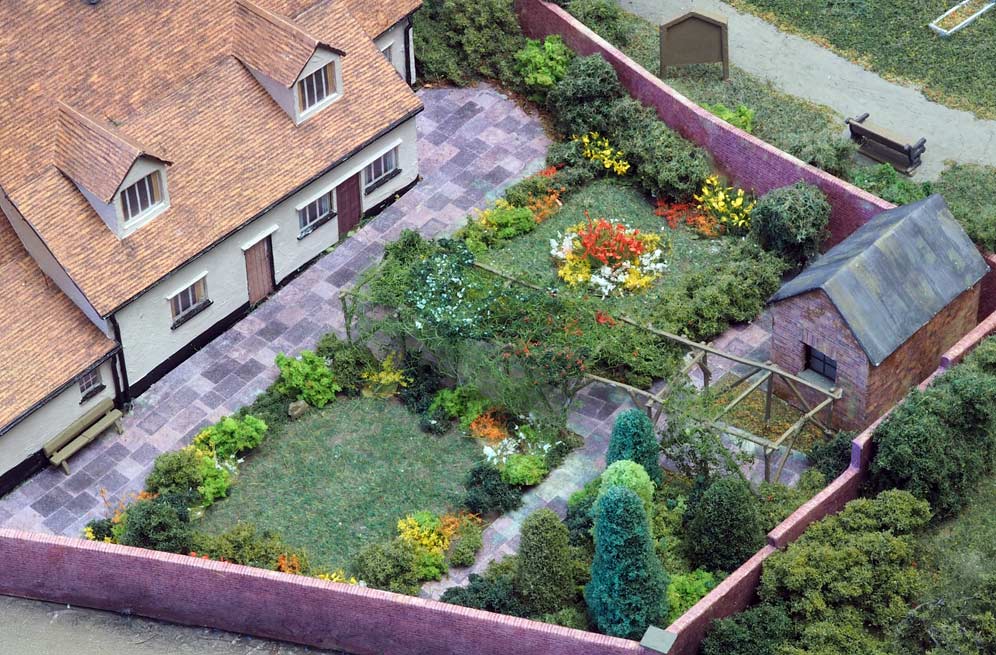
This is the garden of the vicarage. The pergola was constructed in situ using 20thou square microstrip. I drilled holes in the terrain and glued the posts into place. Then the horizontals were added and finally the angled cross pieces. I found it was easier to use a long piece of strip and cut it to length when the cement had set. Trying to hold in place pieces pre-cut to length proved too fiddly.
The brick built shed was the very first N gauge model I made, two years ago.
To make the small decorative conifers I cut a length of paper narrowing to one end. This was glued and wrapped round a suitable length of wire. When the glue had set I painted the paper dark green. Scenic Glue was later brushed on and the tree was rolled in some scatter material spread out on a piece of paper. It's best not to pat down the scatter too much so that as much texture as possible is retained. A couple of hours later any loose scatter was tapped off and a dusting of hair spray applied to make sure that the scatter stays in place.

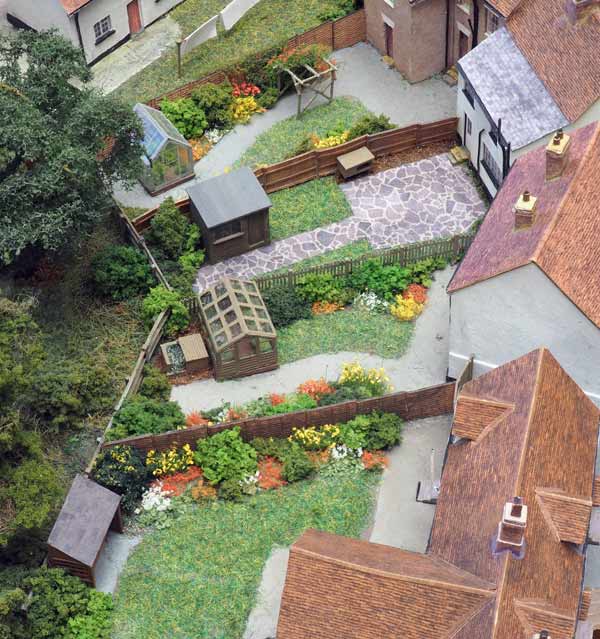
Fences are mix of home made and Kestrel laser cut kits. The greenhouse is from a Peedie Models brass etch.
November 2015
The Churchyard
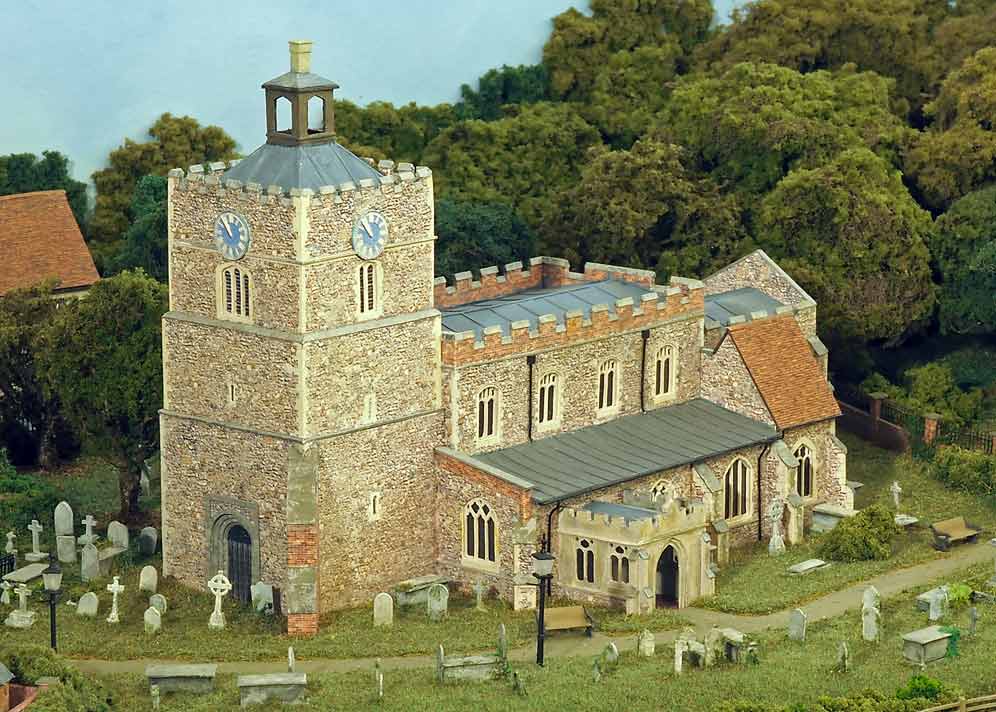
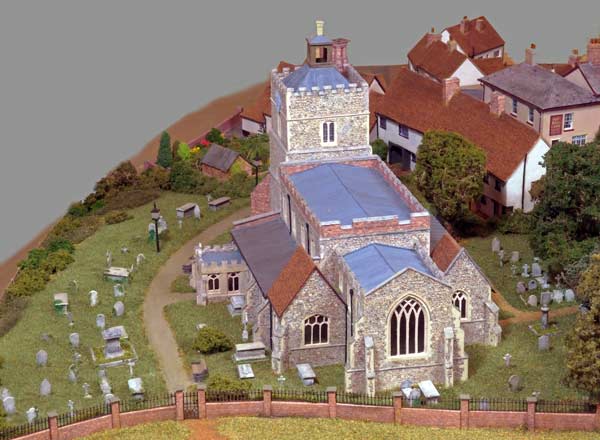
Extra strips of plastikard were added either side of the posts to thicken them ready to be glued into holes in the terrain.
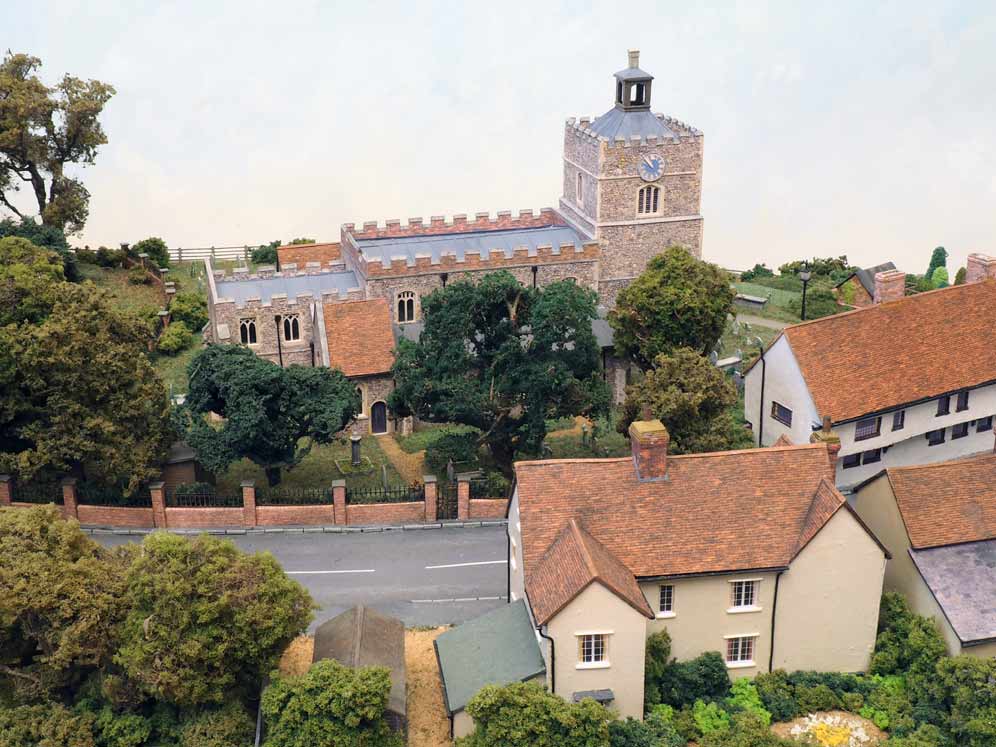
The first picture shows the church from the front of the layout. The area in the foreground of the shot on the right will become a small wood, only the first layer of ground cover has been applied. The final shot won't be possible when the scenic section is installed on the layout as the backscene will be in the way.
December 2015
More Trees
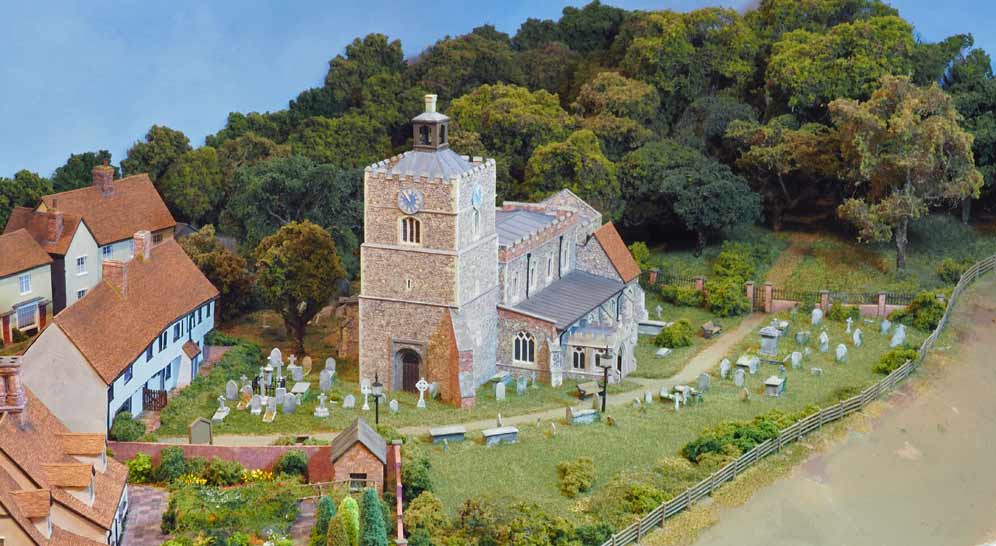
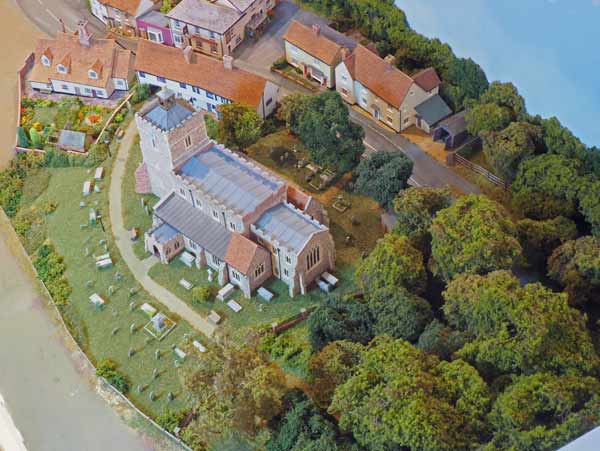
Instead of using multi-strand wire to construct the trunks and branches I used thin florists' wire. This proved to be much quicker than the other method and a lot easier on the eyes.
The last photo shows the scenic module temporarily in place on the layout - there are still some more details to add before it will be fixed in place.
