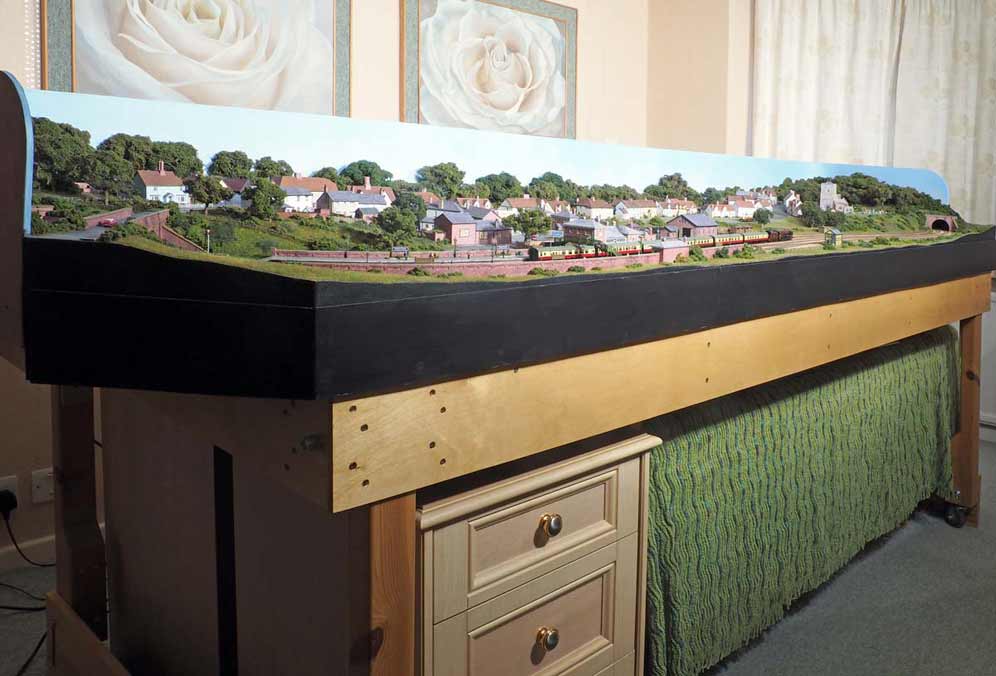
Building Wrenton - Page 13
September 2017
Keeping it clean
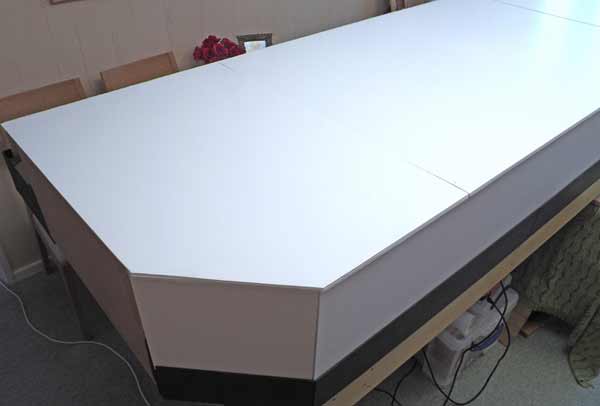
For a long while I covered the layout with black bin liners. This kept the dust off and the light out. I think the latter is as important as the former. With lots of home printed textures on the buildings I didn't want them fading too soon. As a precaution I always use the printer manufacturer's own inks - considerably more expensive but much more likely to resist fading.
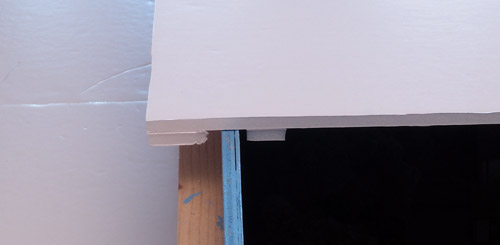
The liners worked fine, but there was always the risk that they might catch on something fragile when placing or removing them. So I made up this cover using 5mm foamboard.
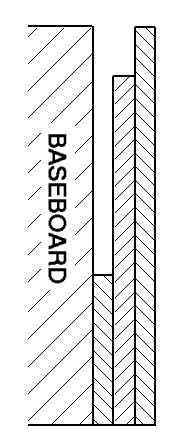
I cut three lengths of mdf for each front face of the baseboards. One was 1Ĺ" wide, the second was 3Ĺ" and the third 4".
The cross section drawing shows how I fitted them to the baseboard.
The deepest channel takes the glazing. To add the cover uprights the glazing is removed and the foamboard sits in the wider, shallow channel at the top.
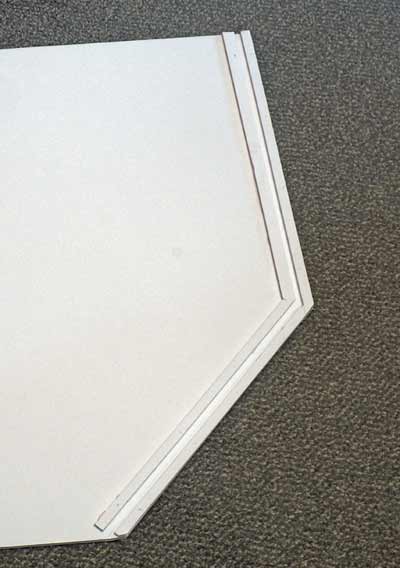
These locate the boards over the front foamboard panels and the backscene.
 |
It only takes a couple of minutes to remove the cover and drop in the Liteglaze glazing: |
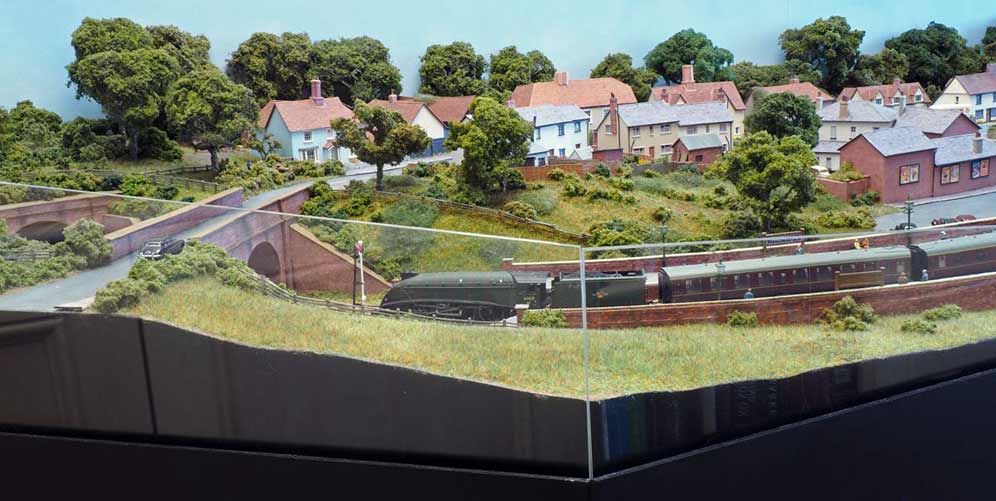
So hopefully Wrenton is now protected from dust, light and fat bellies! While I had the camera at that corner of the layout I took a couple of extra pictures:
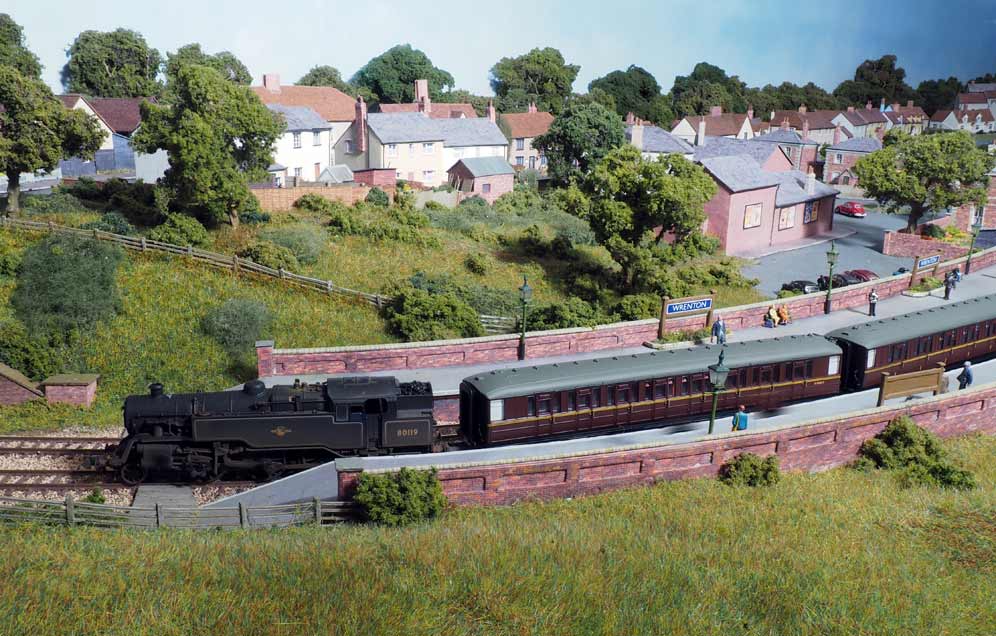
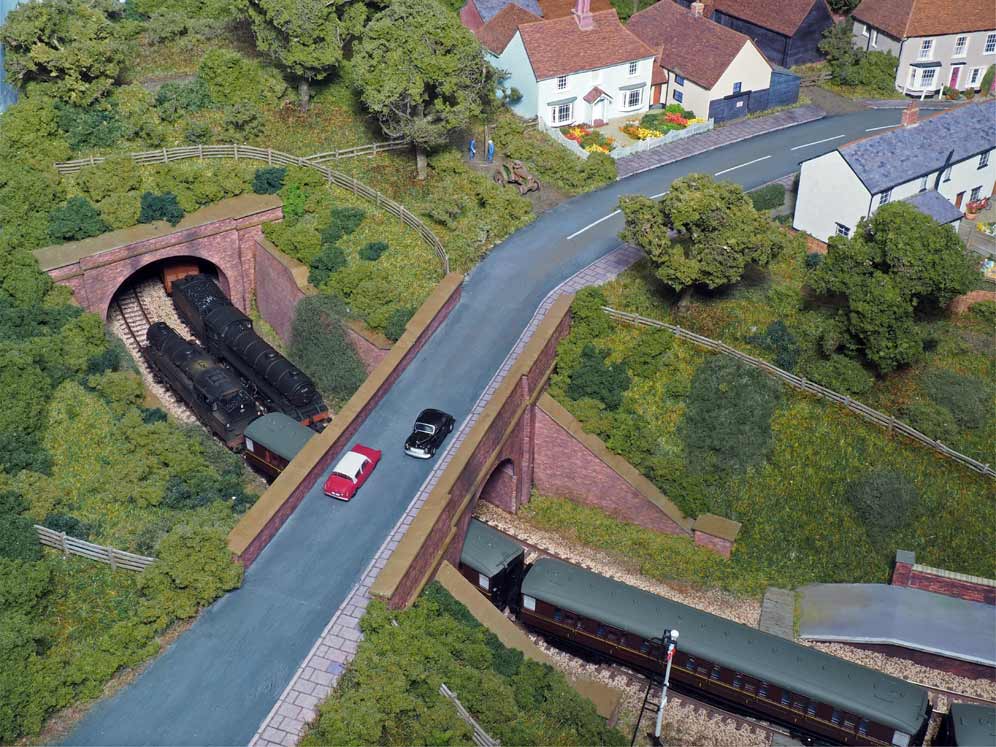
Extending the fiddle yard
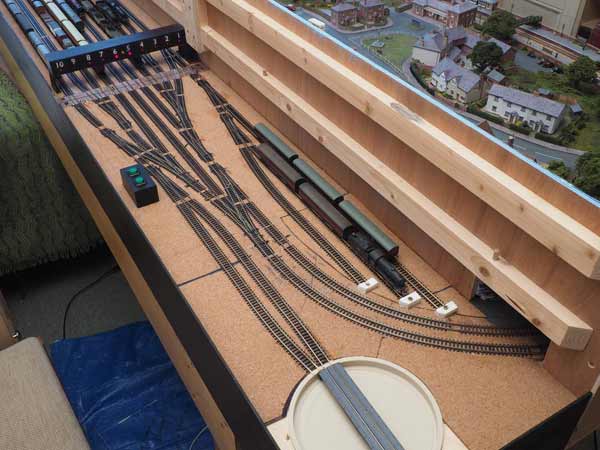
I had to add some extra wiring to enable access to the new sidings. At the ends of each of the main storage roads Iíve got short isolated sections the power to which is fed through auxiliary switches on all the Cobalt motors involved in setting the required route. For example, in order to power the section at this end of road 10 the three way point nearest the camera has to be set to the left route, likewise the second three-way. Finally the point just beyond the black box has to be set to the curved route.
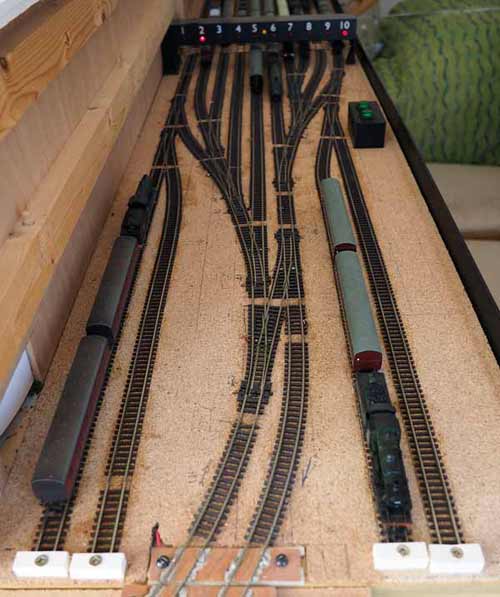
There are similar sidings at the other end of the layout. Thereís no room for a tripod or lights at this end, so itís a hand held available light shot.
Some more photos
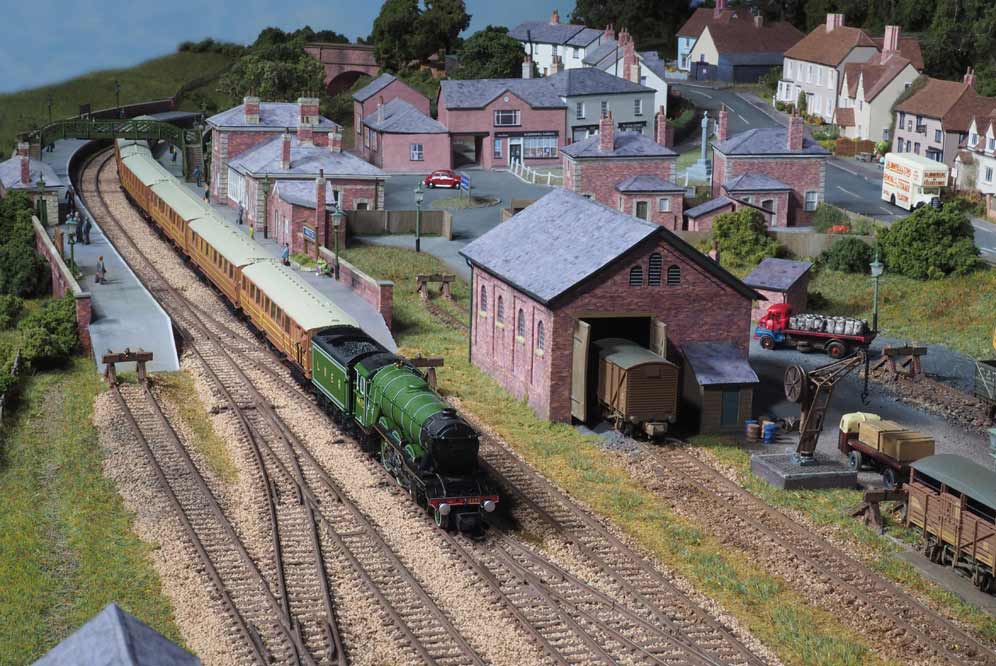
Here are a few more photos of the layout. First Flying Scotsman passes by, in LNER livery and with a train of Gresley Teaks...
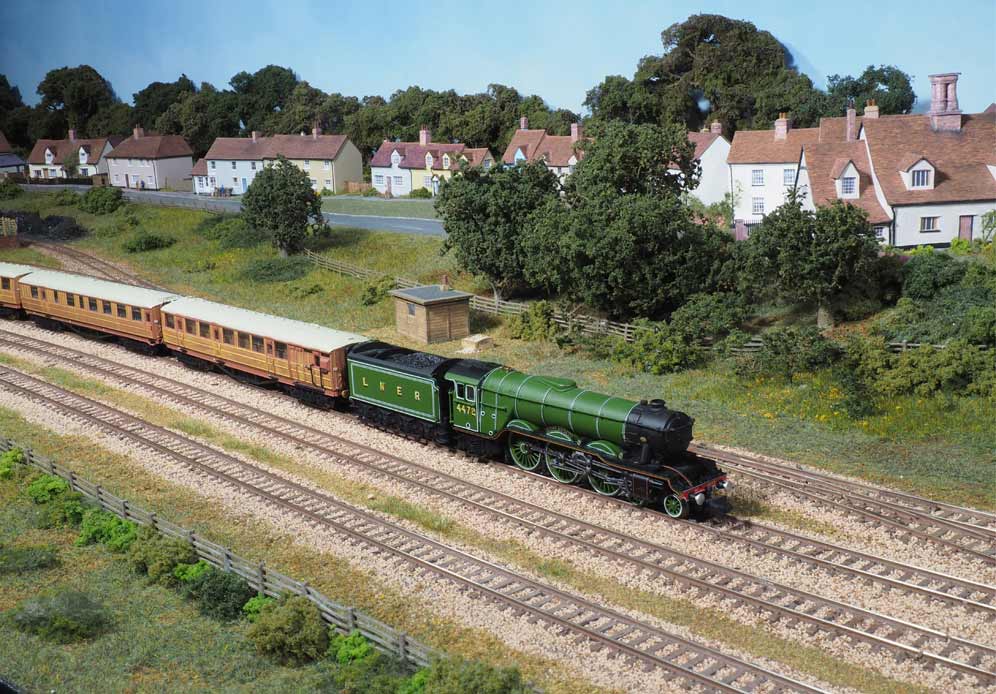
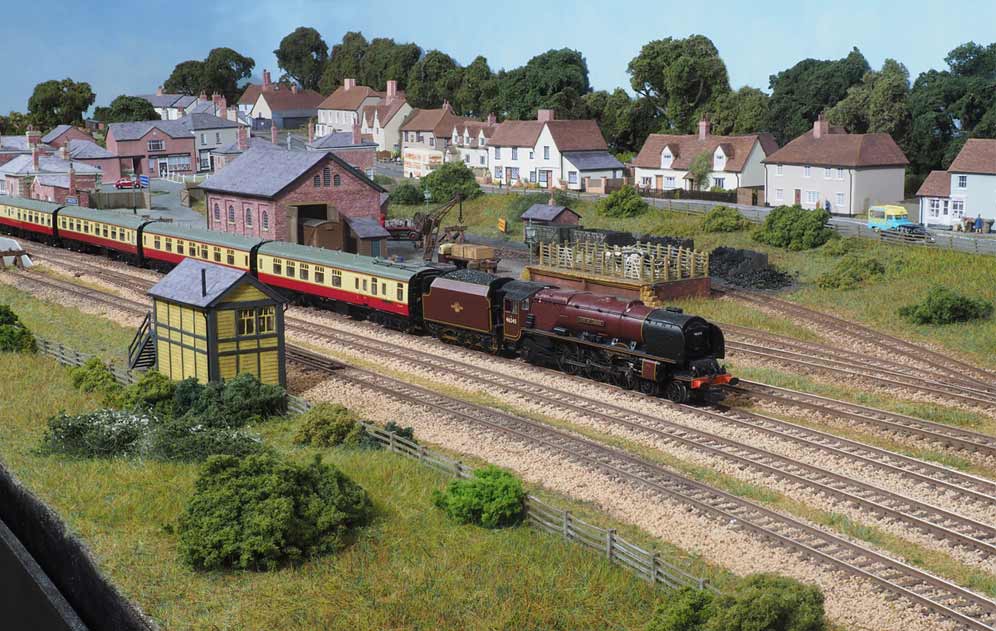
...and is followed by City of London.
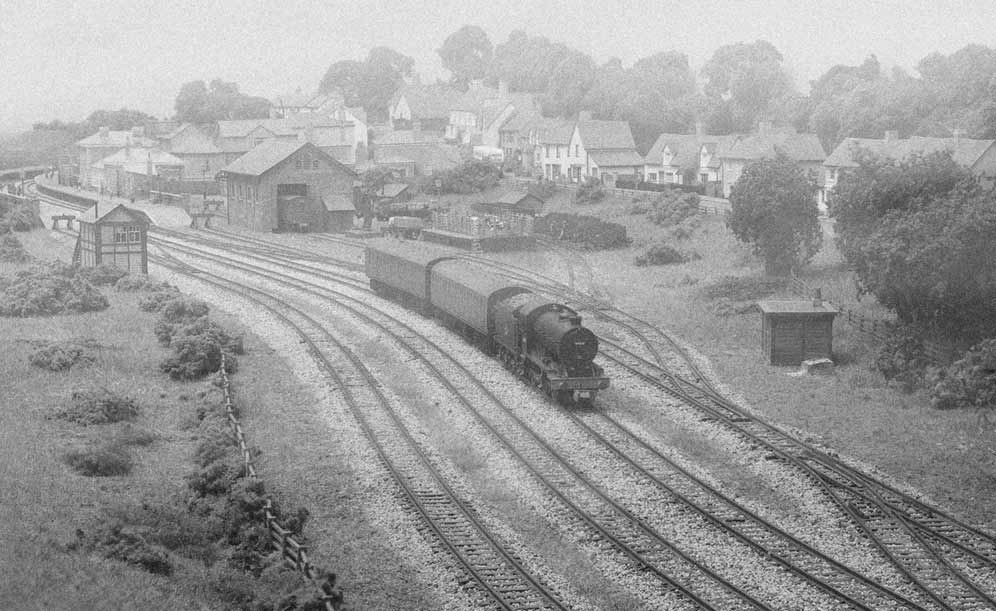
It was a chilly, misty, autumn morning as our intrepid photographer ventured forth with his trusty Nikon S-2. He hadn't loaded it with his usual Kodachrome, instead choosing the much faster, monochrome, Ilford HPS. He was rewarded with this shot of a J39 leaving the station with a short train.
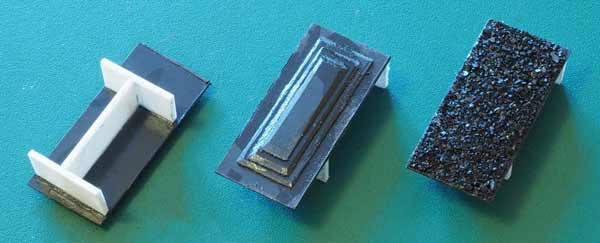
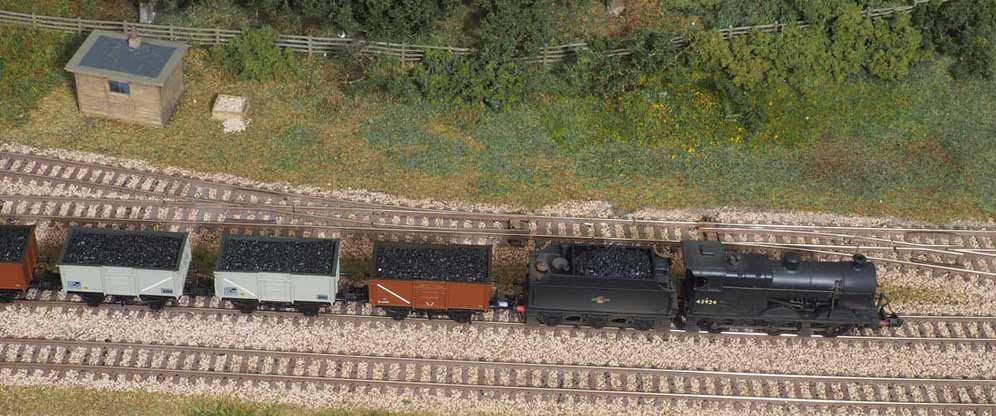
Adding loads to the mineral wagons
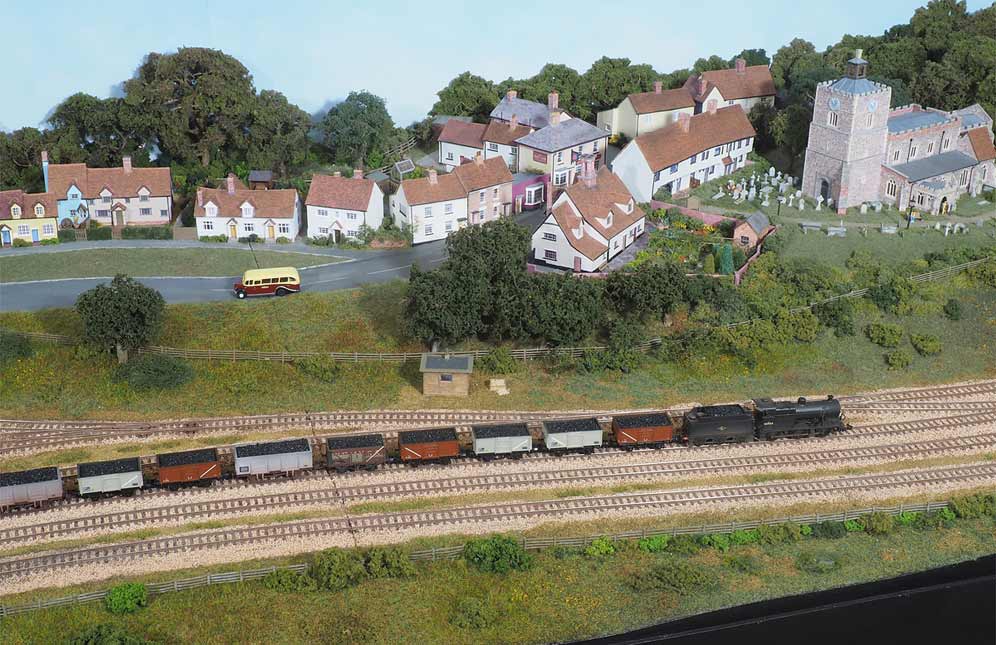
The Midland 4F hauls a train of mineral wagons fitted with the new loads. There's real coal in the loco's tender, too.
Re-arranging the railway room
More than three years ago I planned the construction of the baseboard to allow a bed and some bedside cabinets to be stored underneath it. To keep access to the wiring and point motors I've thus far kept the bed crosswise under the baseboard but now I've turned it and added the cabinets, back to back, creating more space in the room and around the layout.
