Building Wrenton - Page 2
October 2013
No.1 The Causeway
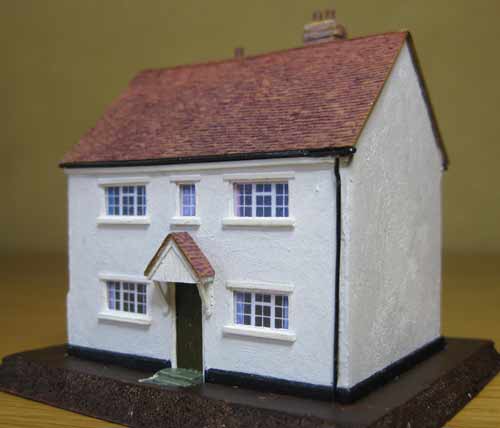
Later models were cut out using a machine but for these early efforts I cut out the walls, windows and doors using a scalpel. When I'm happy with the drawing I print it onto label paper and stick the result onto a piece of Plastikard thus giving me an accurate cutting guide.
I use a little bit of trickery to represent the window frames. I print the frames and curtains onto paper and fix this behind the glazing material. At normal viewing distances the trick is virtually invisible and it gives finer and neater looking frames than I could cut from any material.
The walls of many of the buildings I've made are plaster in the original, so can simply be painted in the model. The tiles on the roof are printed and based on photos of roofs in the area of the real building.
Gutters are Plastikard and the downpipes are wire. The chimney pots are pieces of metal rod passed down into the hollow stack and set into Das clay which is shaped to suggest the haunching around the pots.
The model here sits in a temporary base (made of foamboard). By extending the walls below ground level I can plant the buildings into the baseboard so that no gap appears under the walls - a problem that immediately says 'model' to me.
October-November 2013
Nos.1 to 4 Church Hill
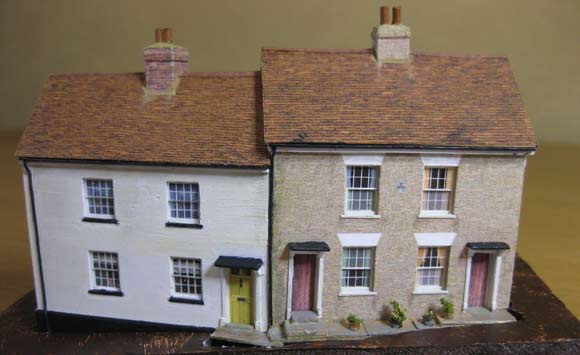
To suggest the sash windows I used the printed frame/curtain technique again, but this time I cut the prints in half and set the lower portion back behind an extra layer of Plastikard.
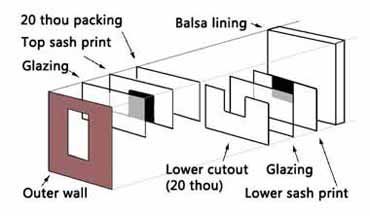
As the drawing suggests I line the buildings with balsa
wood to prevent any bowing of the Plastikard.
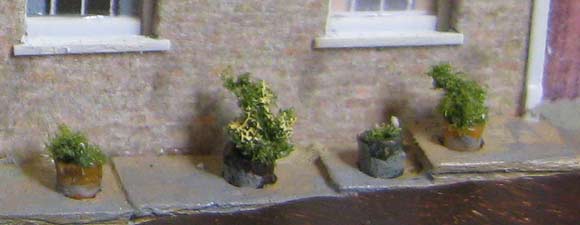
The flower pots are less than one tenth of an inch in diameter. They were made by glueing and wrapping a slip of thin paper around a metal rod. The rod was withdrawn before the glue set. Four lengths were cut from the resulting tiny tube and, after painting, were inserted into holes drilled through the 'stonework' on which they appear to stand. Small pieces of foliage material were glued in to suggest plants.
November-December 2013
The Red Lion
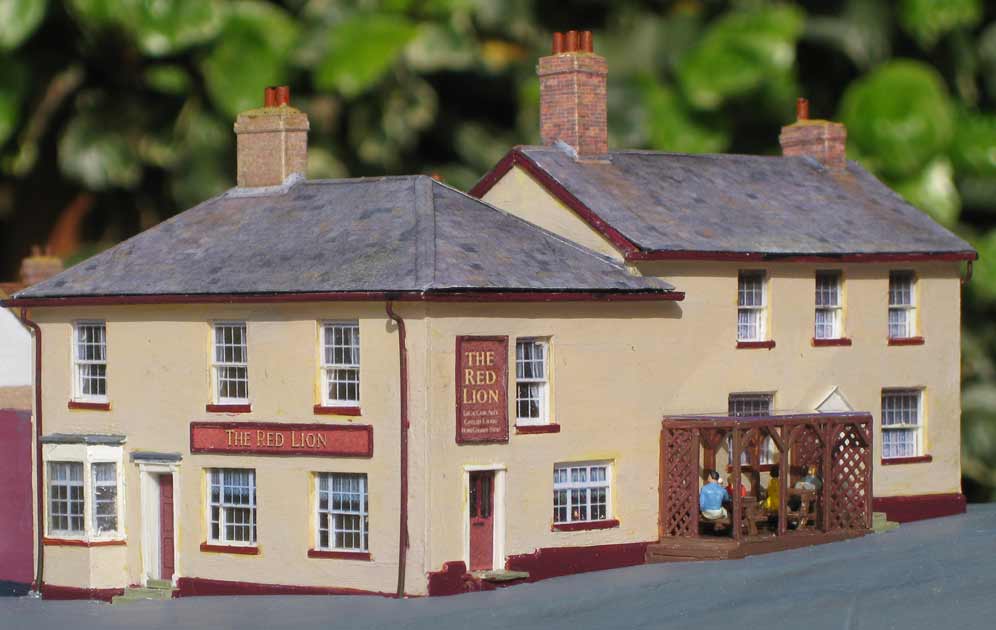
Like the group of cottages above, the Red Lion sits on a hill. The temporary base shows the slope of the road which continues round the side of the building. Some etched trellis would have been useful when making the lean-to. I had to use some Slaters microstrip instead. I made an area larger than I would need by using double sided adhesive tape to hold the strips in place before applying Mek-Pak to glue them together. The signs were made from photos of the real thing with quite a lot of Photoshopping. A hanging sign was added to the front of the building before it was installed on the layout.
December 2013
A Small Shop
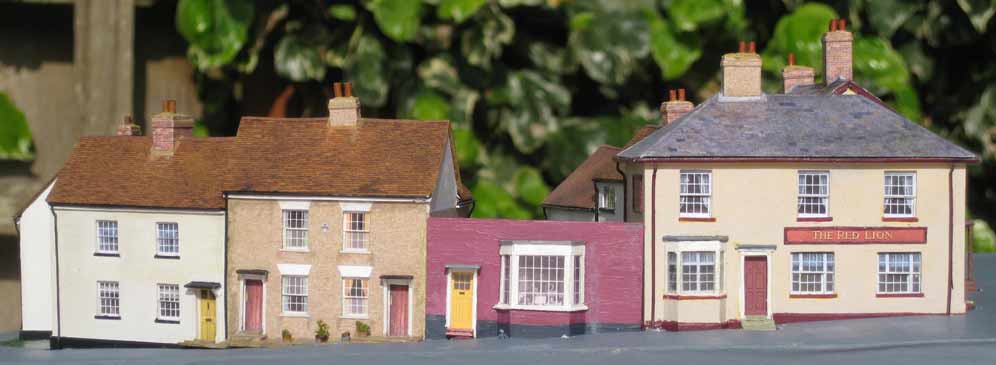
A small shop sits between the cottages and the Red Lion.
December 2013 - January 2014
The Guildhall
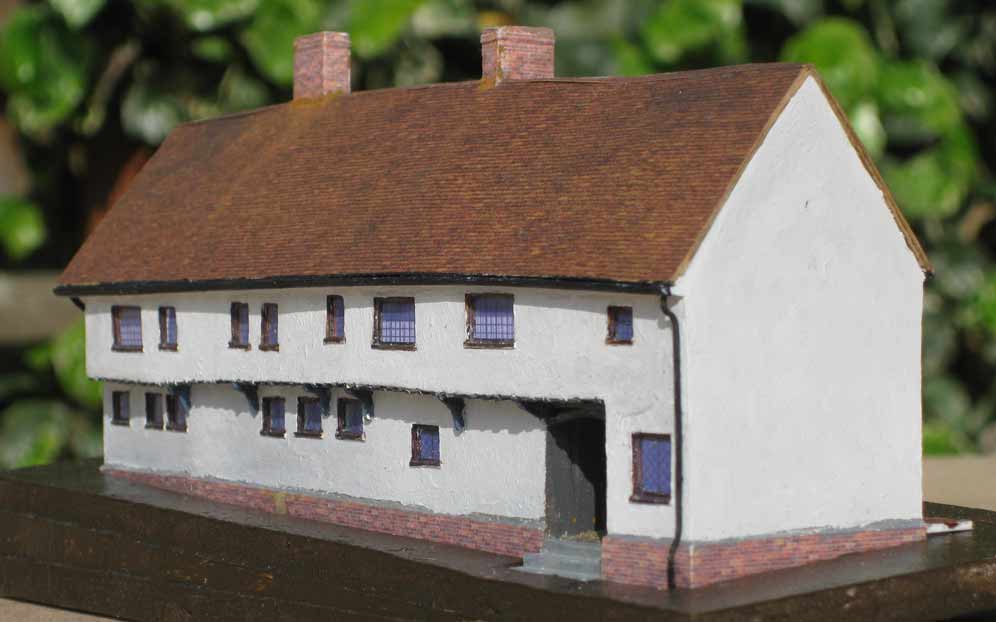
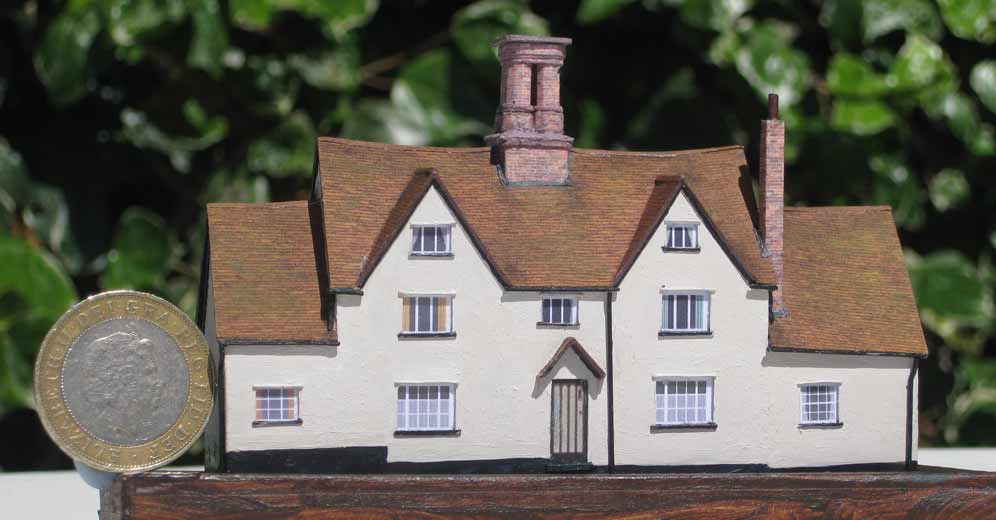
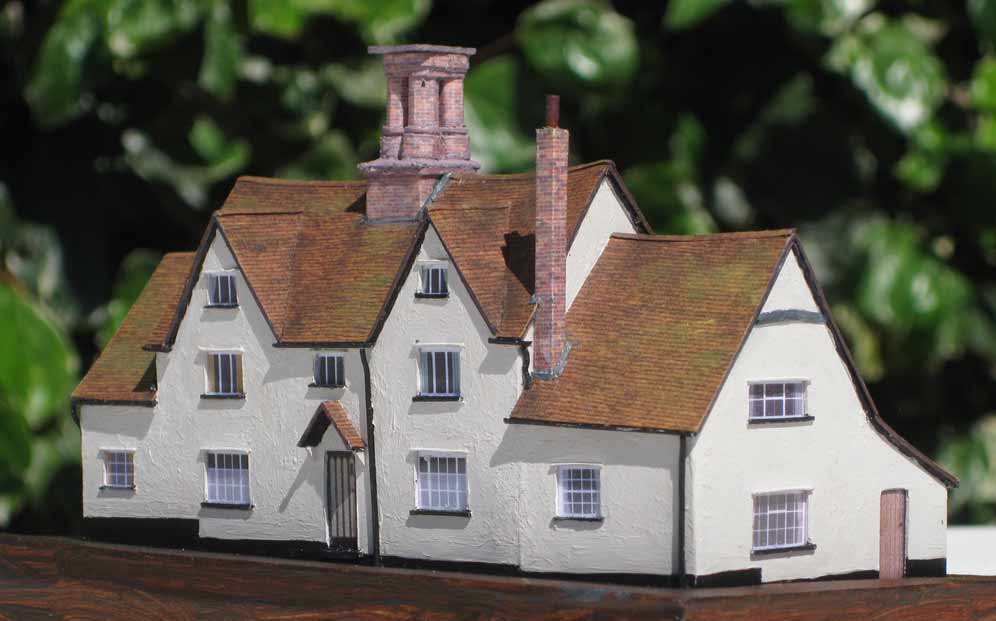
The building on which this model is based dates from about 1500 so the model is far from square and the walls twist and turn. Formers were inserted between the walls to achieve this and the roof was based on a piece of carved balsa wood. I spent ages adding the timbers which support the jettied upper storey. They're hardly visible in these shots, even less so when the model is planted in the baseboard. But they do cast nice shadows!
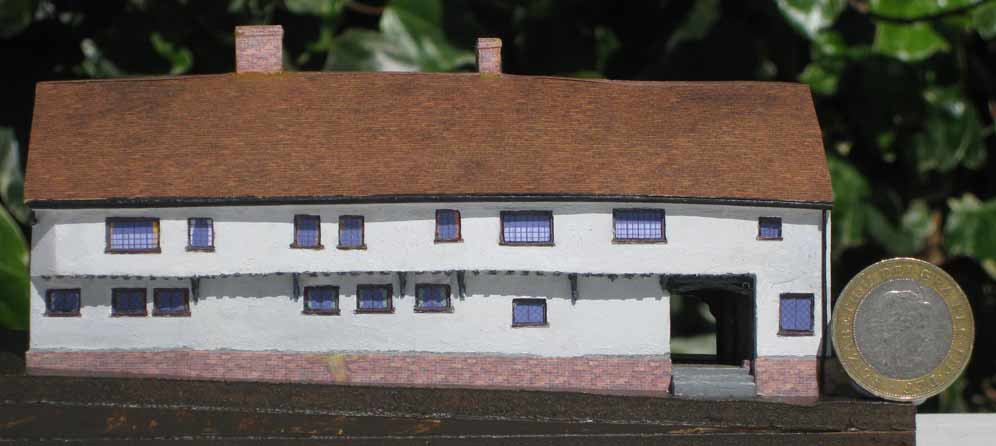
The Guildhall will sit opposite the Red Lion. The passageway leads to the church. This picture above shows the road side of the building with a two pound coin to show its size.
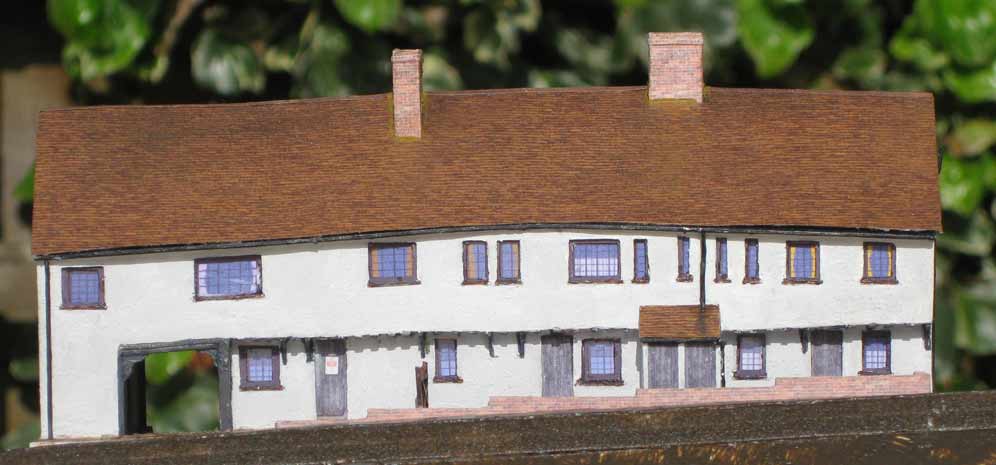
And this is the side which will back onto the churchyard.
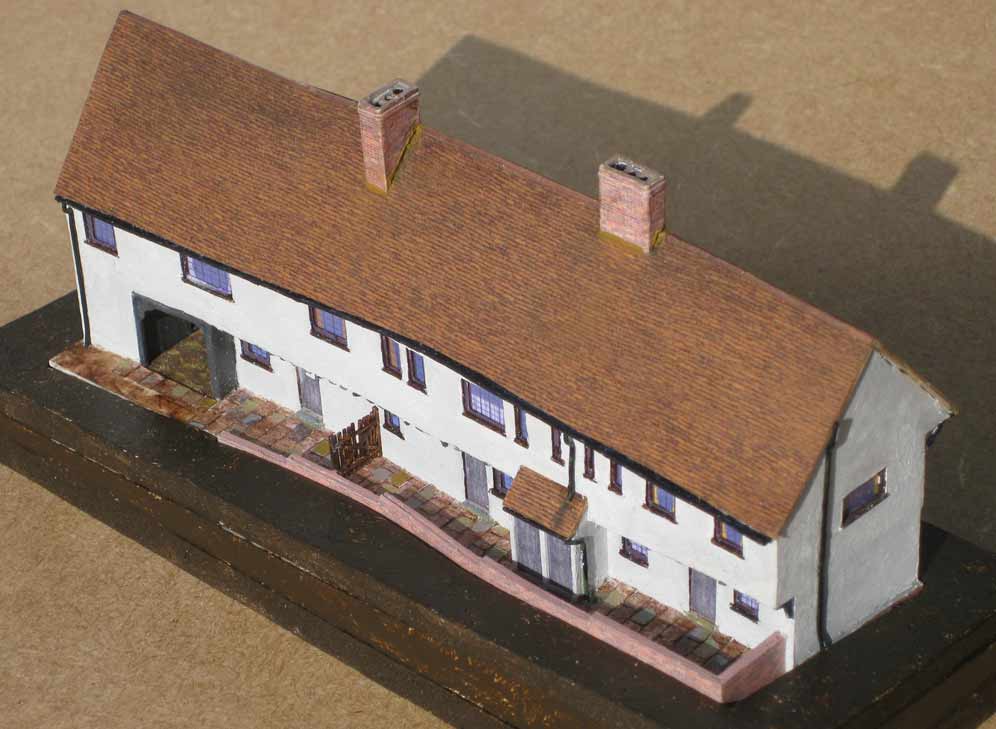
January - February 2014
Larger Houses
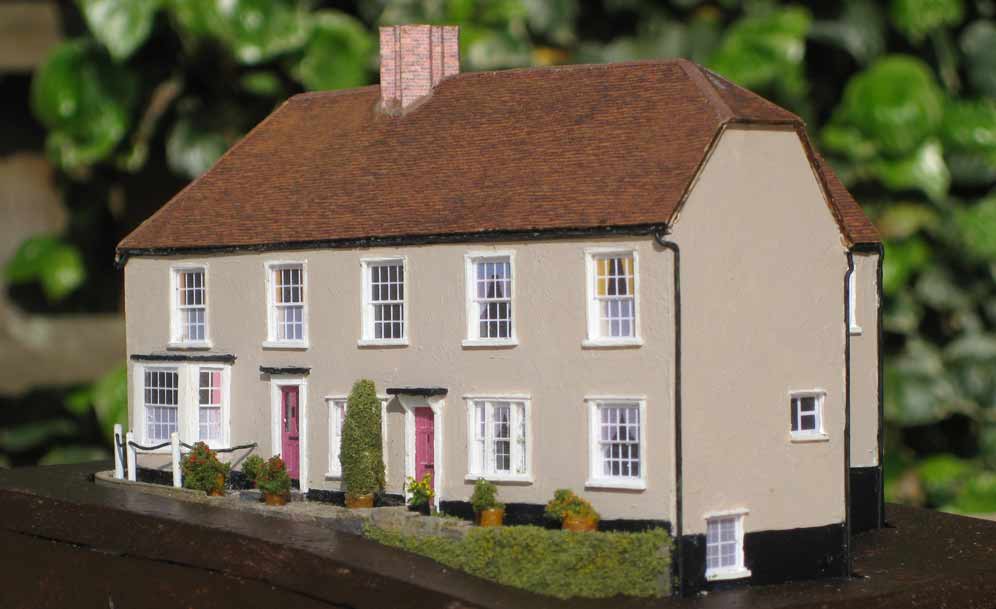
The original is one of three buildings that I will omit from the group I'm creating. But it will probably find a home elsewhere. The flower pots were made the same way as those in front of one of the cottages, above. A new challenge was the little chain link fence around the bay. I drilled holes in pieces of plastic rod and threaded a piece of fuse wire through them.
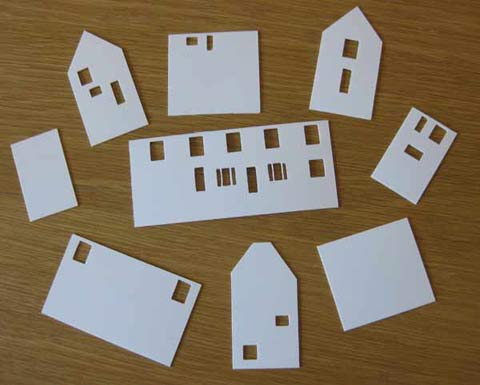
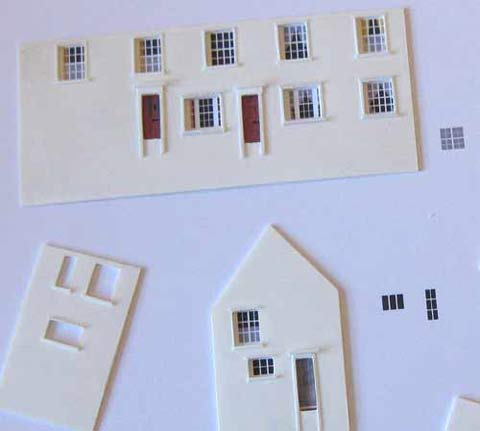
I photographed the walls of this building before assembling them, left. And on the right I've added the window sills and surrounds and I've placed a couple of the walls on top of the printed windows.
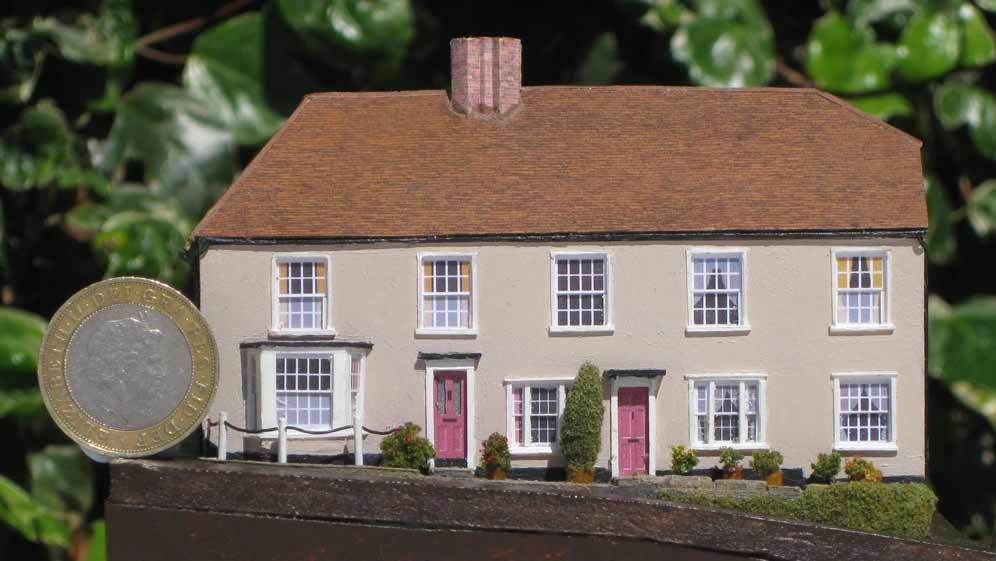
February - March 2014
Nos.2 and 3 The Causeway
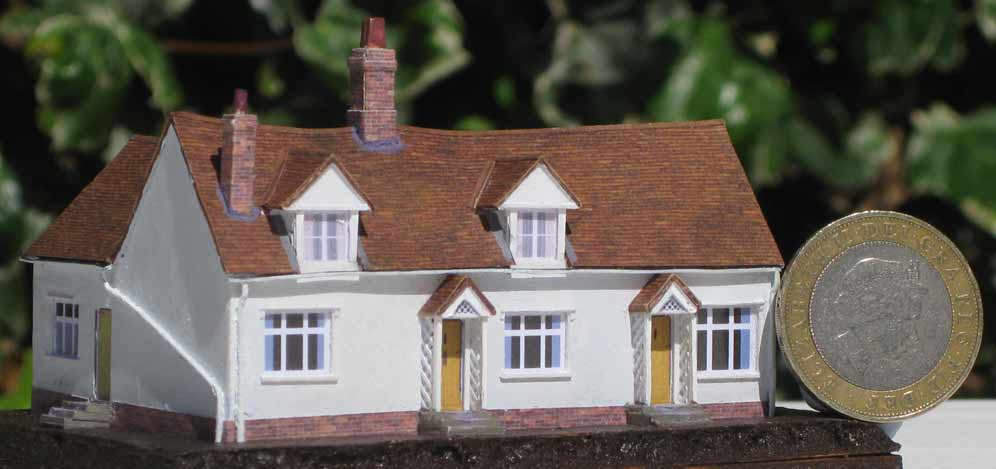
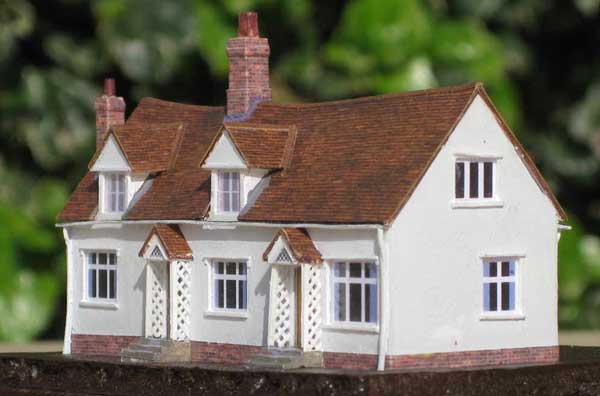
Those gabled dormers were quite a challenge! The tiny pieces of Plastikard they're made from were cemented to the roof before the tile paper was fitted.
The gutters are 20 thou microstrip filed on the underside to suggest the correct profile.
March - May 2014
Nos.4 to 8 The Causeway
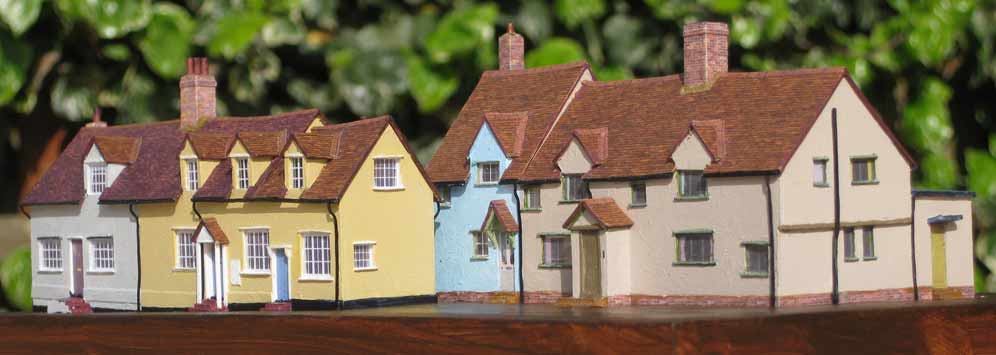
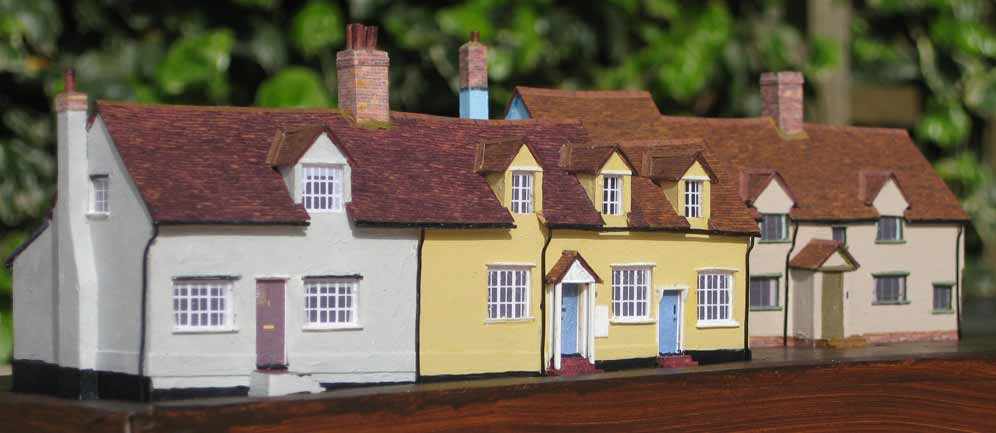
This group of cottages will go to the left of the previous building.
May - June 2014
The Vicarage
The original of this building dates from the sixteenth century. To the best of my knowledge it was never the vicarage but that's what it is in Wrenton! The original was once used as a workhouse and in the twentieth century saw service as a butcher's shop. It doesn't sit next door to the Guildhall, but that's where it will be placed on the layout, thus placing it close to the church - hence my decision to call it the vicarage.
